Monday, January 02, 2006

How you like me now?


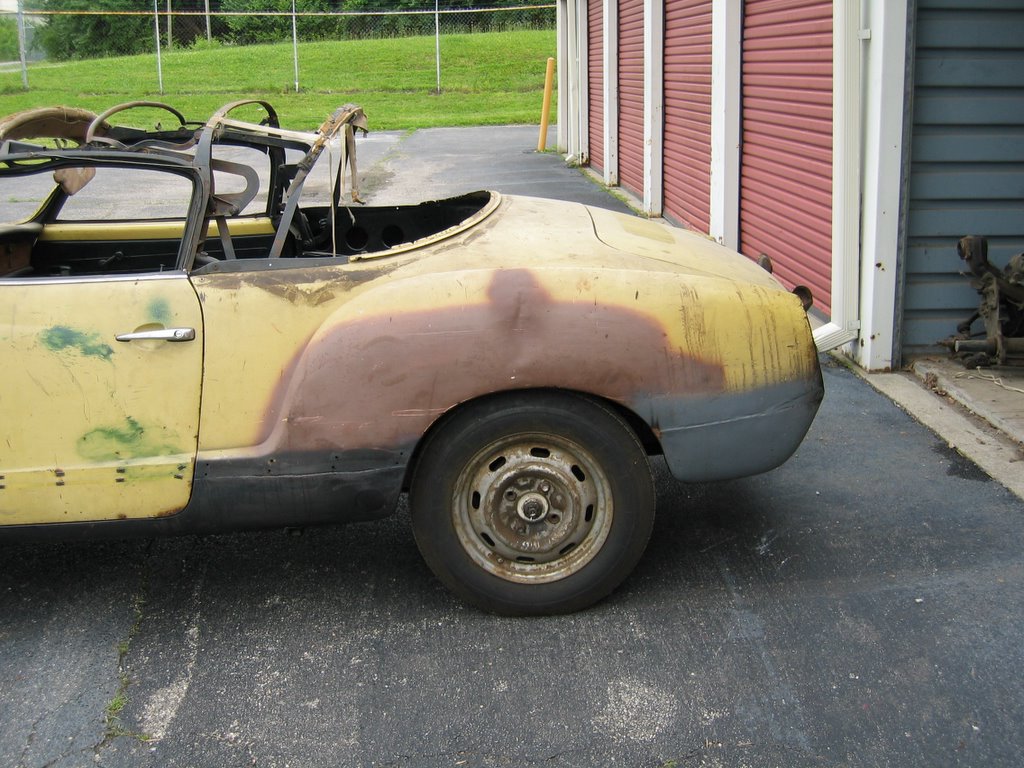
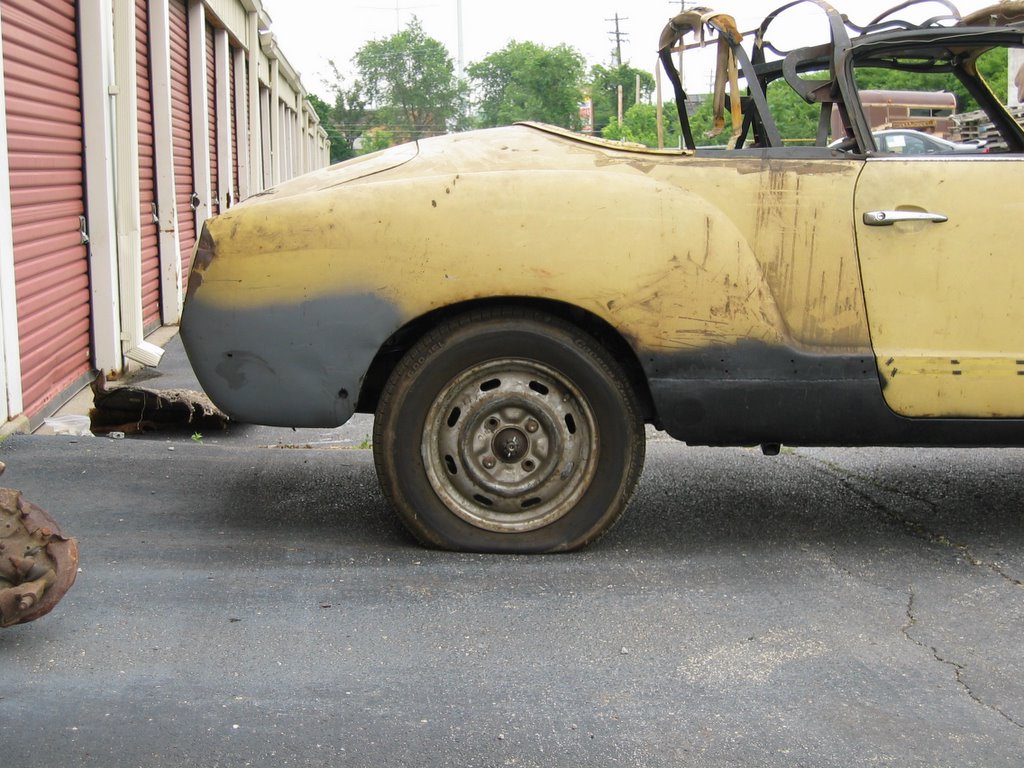
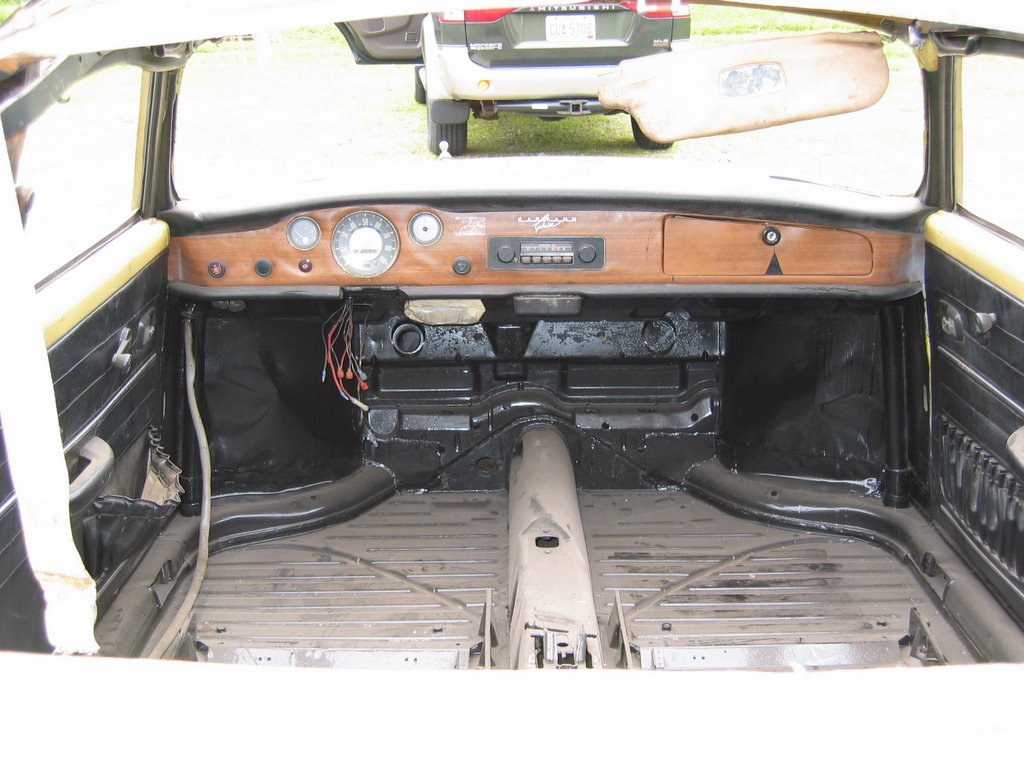
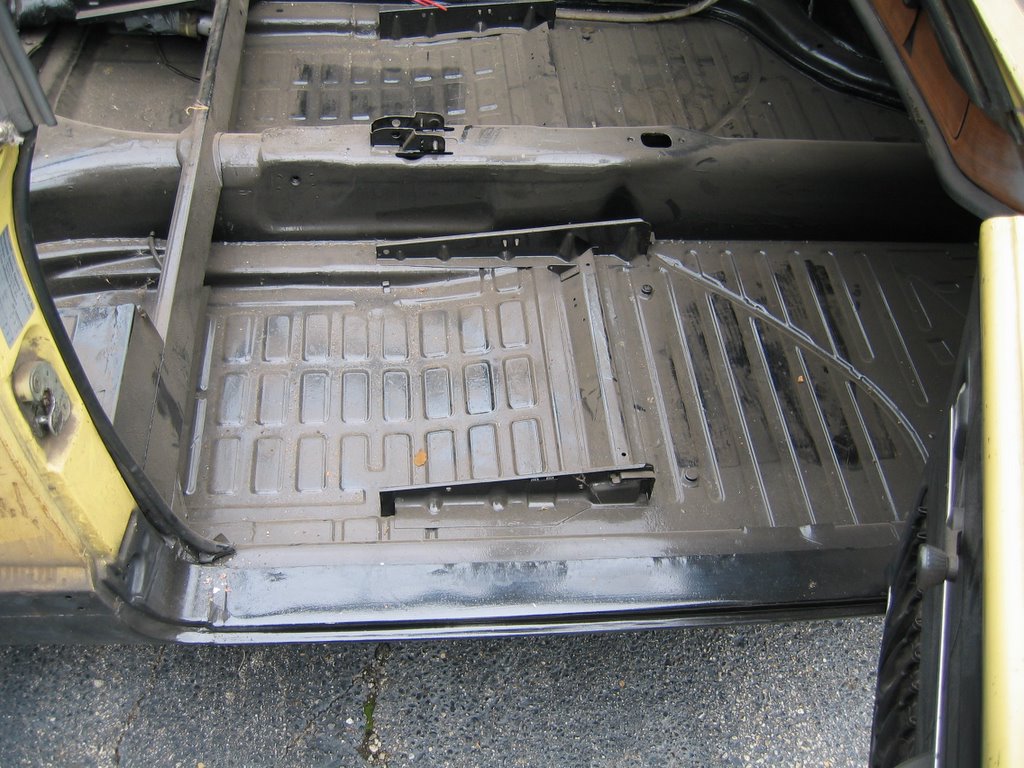
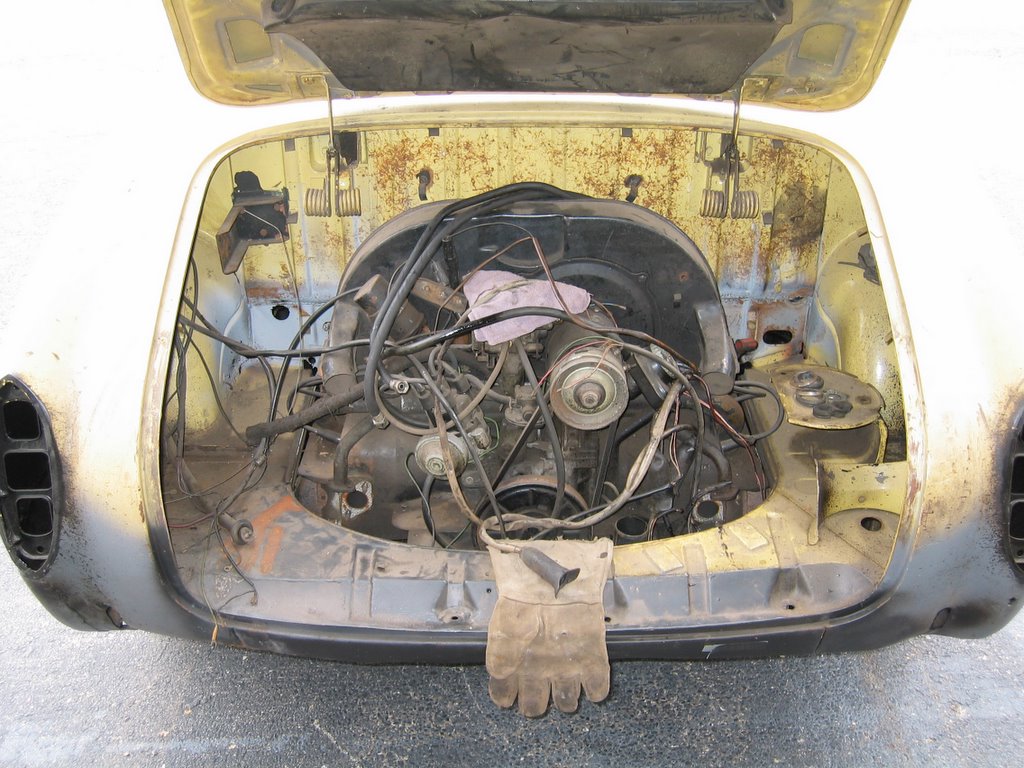
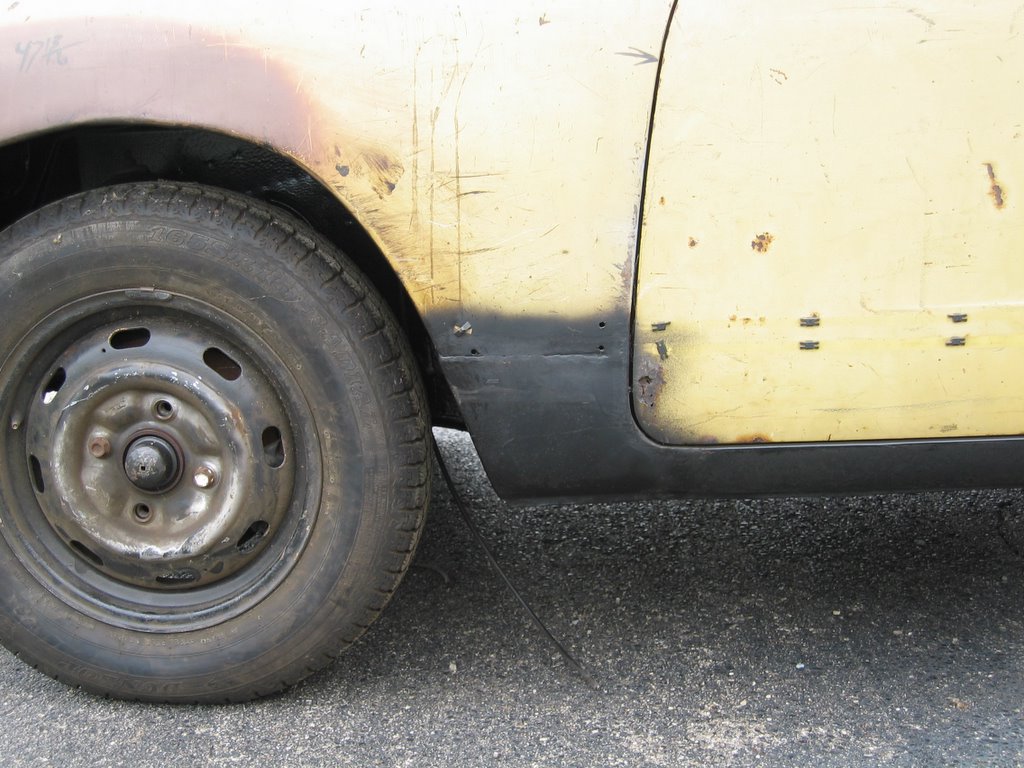
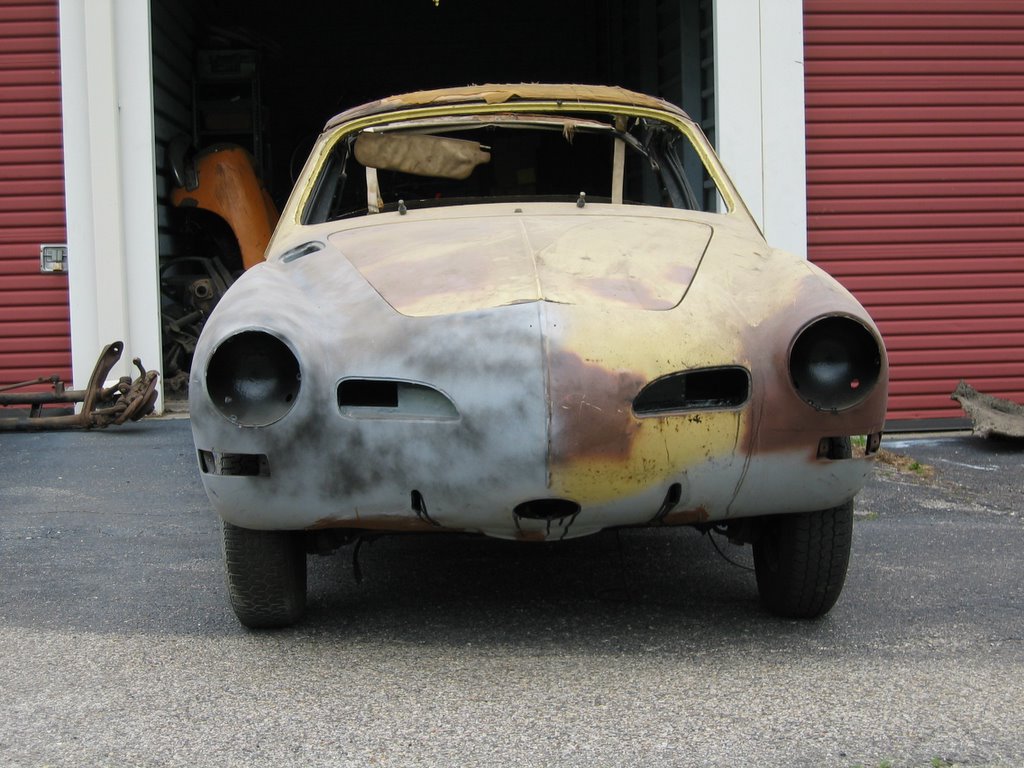
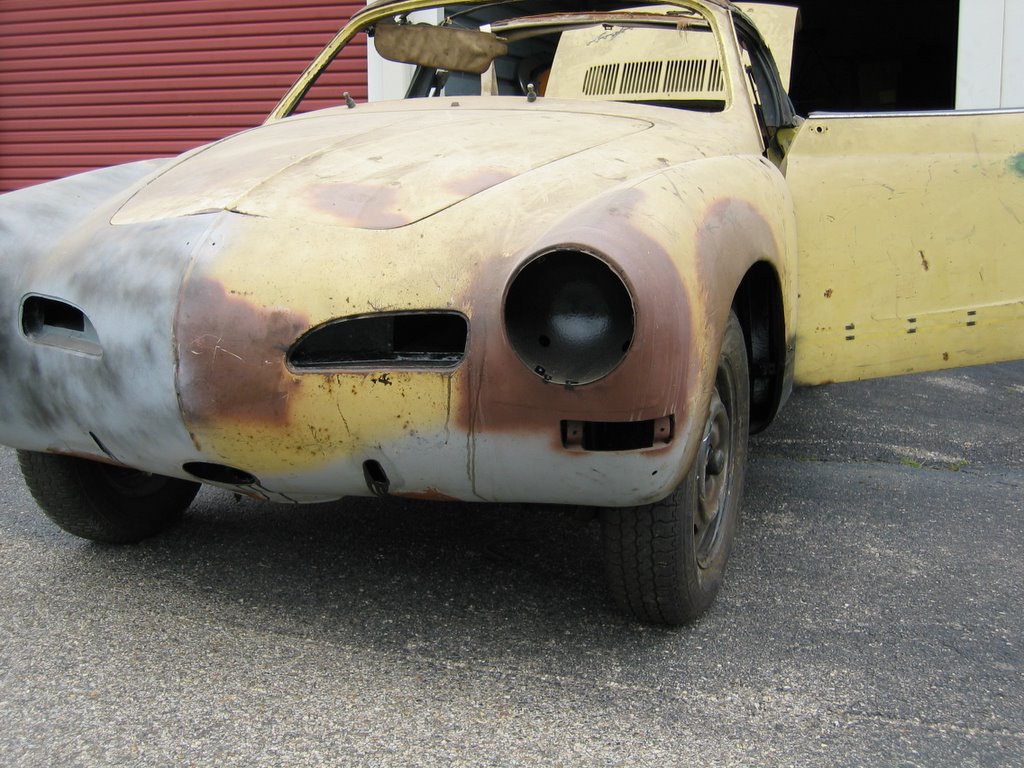
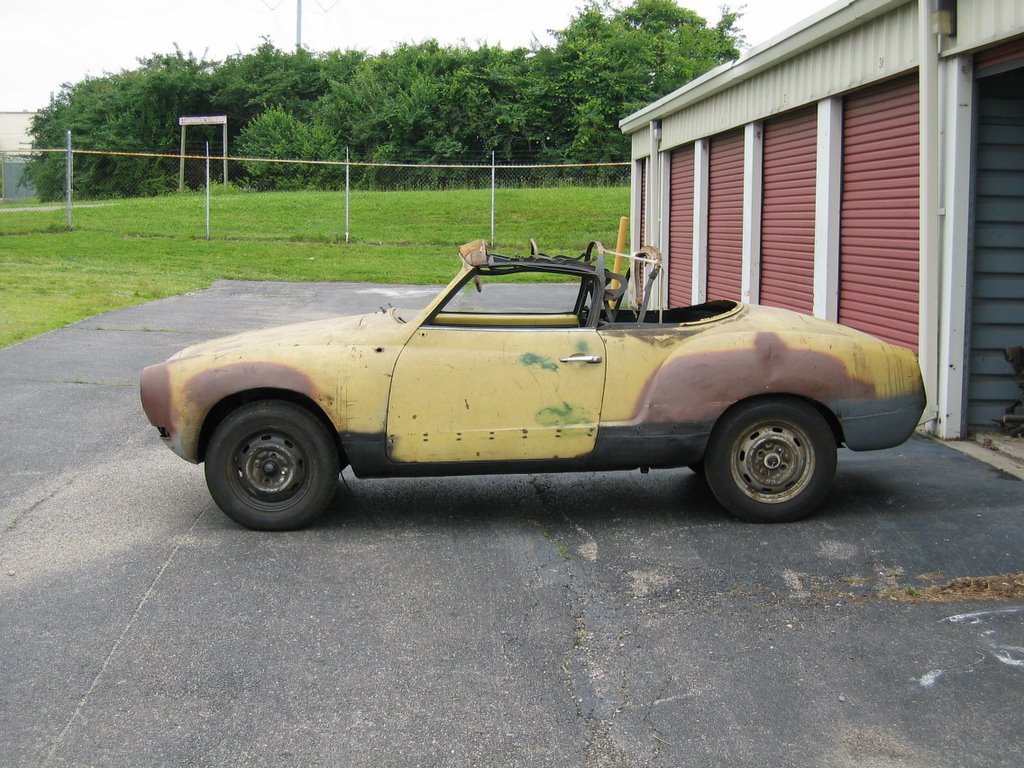
Ok, the strip down was completed - all the wiring, door hardward, dropped the engine and trans, everything out of the front boot. Nothing but car, and wheel.

Next it was off to painting. Off it went to Don Miller's shop in Hamilton, Ohio for prep and paint. Don is an ex-VW shop mechanic, and avid old car buff. He's done a quite a few aircooled Beetles and some Ghias, but he's also old school American Metal - 50's and 60's stuff - he likes the classics.

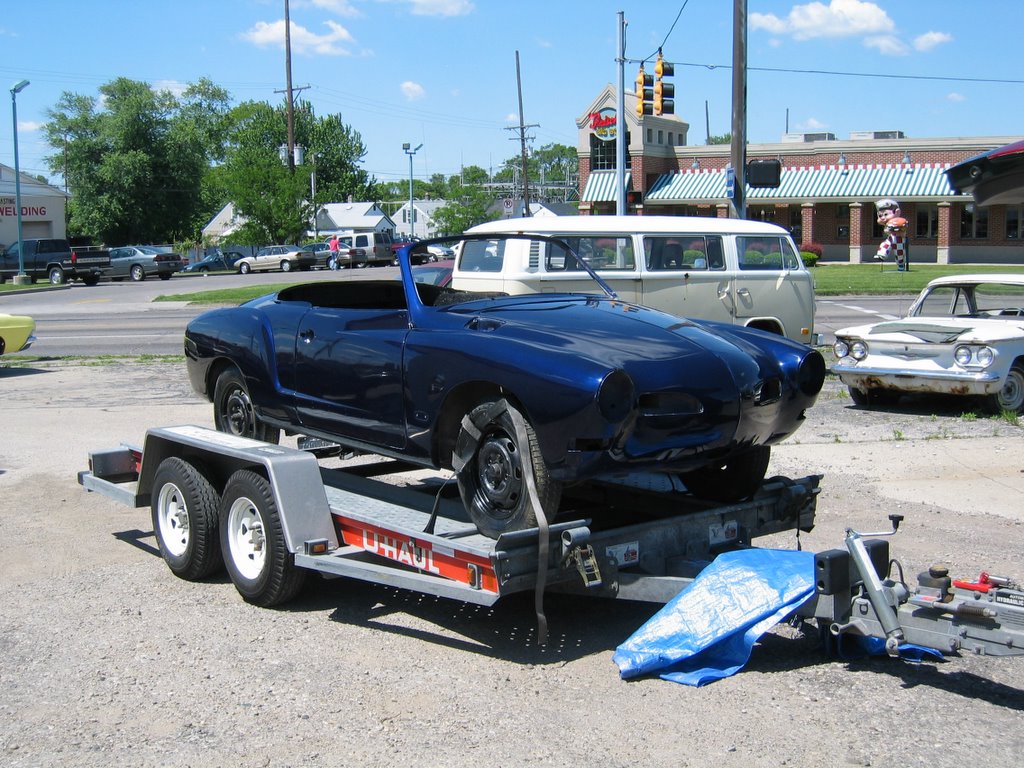
My choice of color - a late model VW color - Pearlescent Blue Metallic. I fell in love with this color when I saw it on recent Jetta's and Passat's and the pictures here don't quite do it justice. With a camel top and tan interior, this car should be just what I envisioned.

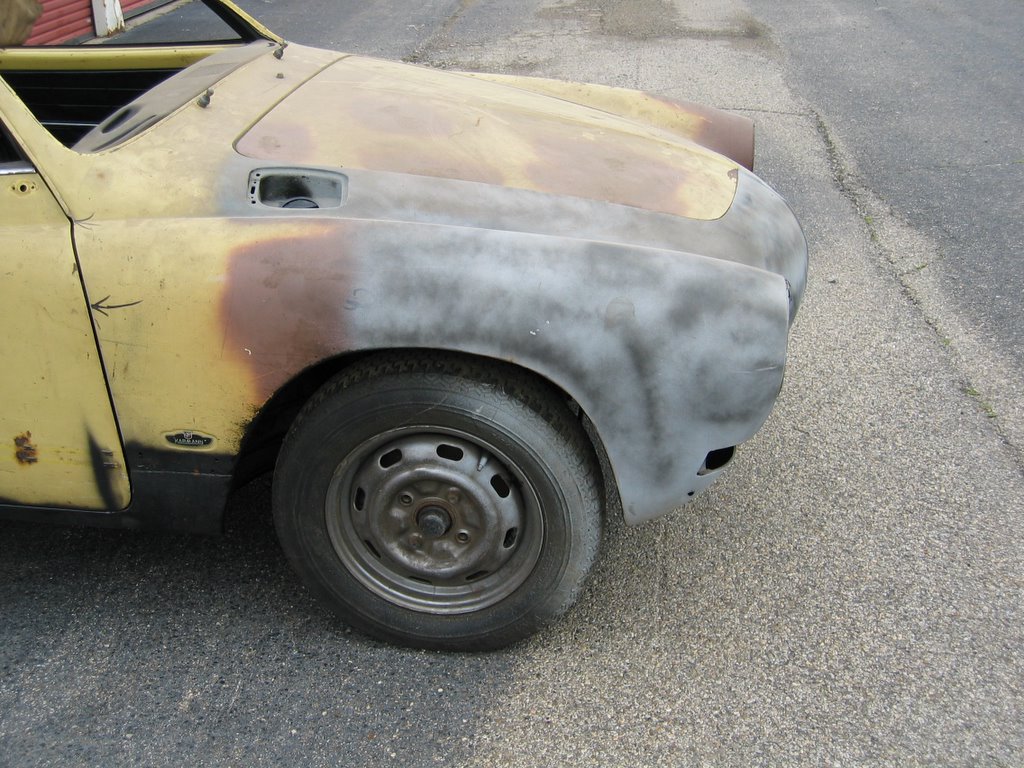
The car went to Don in the spring of 2004. My plan (not Don's) was to have the car done in the fall, so that I could move it back to my garage for final assembly. My work assignment took me out of town, so I wasn't around (once again) to monitor progress - and, as these things go, money was a factor. Don initially suggested media blasting the car, but his was after we'd negotiated price, but before he'd had a chance to really inspect the car - bad move on my part. Shuttling the car out to his shop just to get an estimate wasn't practical. Had I to do it over I would have done so - the cost of a rollback tow truck would not have been prohibitive. It wasn't to be. I should have followed Don's advice, but that would have meant an additional &800, and money was tight. So all of Don's prep work - which is quality work - was done by hand, involving removal of old paint, etc. We still came away with a quality job but next project will plan for media blasting if for no other reason that to ensure complete removal of paint, bondo, rust, and grime.

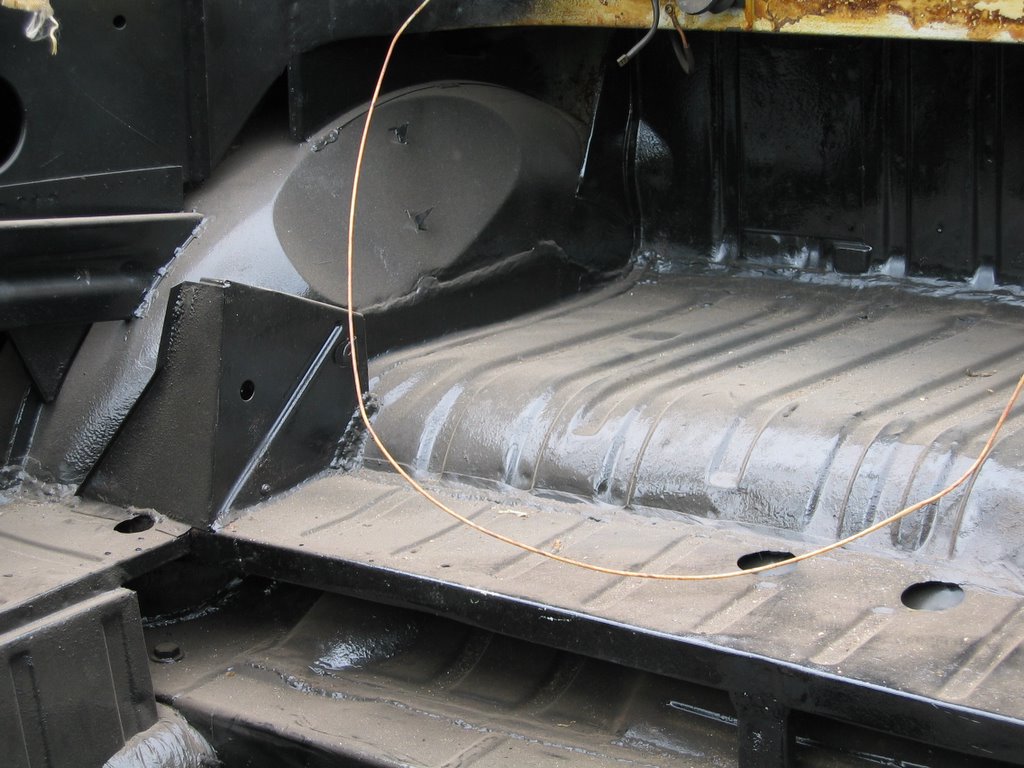
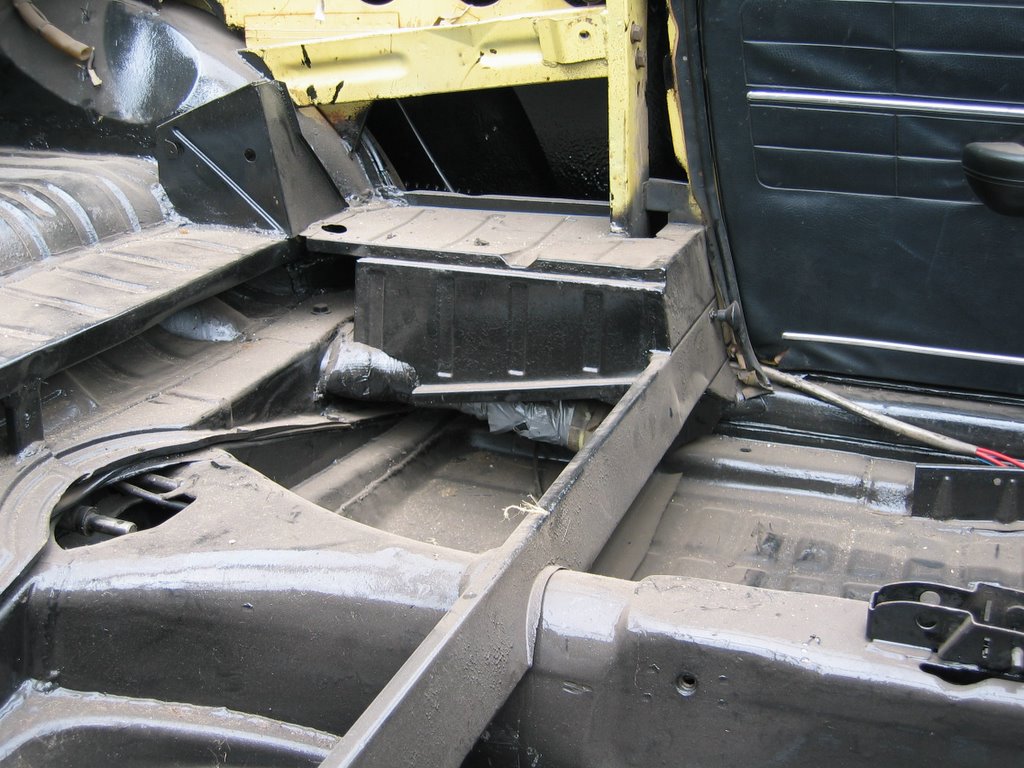
Don did make sure to paint the front boot and the engine compartment, along with the areas behind the rear seat and the door jambs - a complete job. For these ancillary areas, manual paint removal must have been a pain, but it was done and would have been much easier by media blasting.

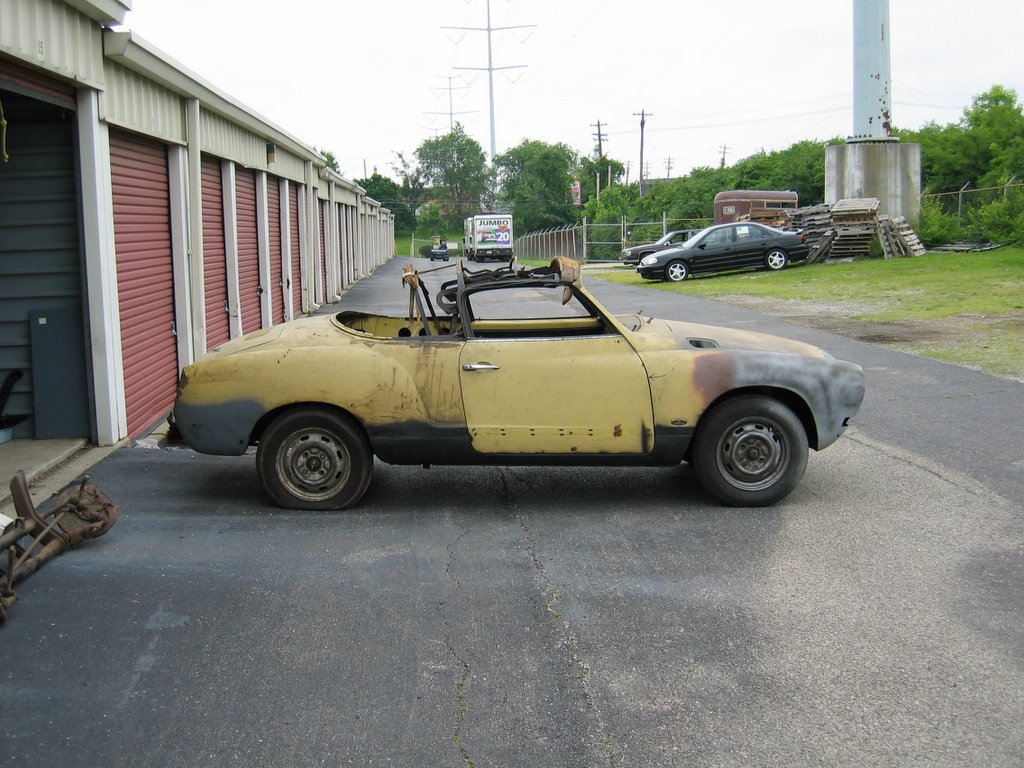
These pics show the car trailered up and off to my new home - in May of 2005.

Sunday, January 01, 2006

Garage Prep - Fall 2003


Just a pic or two showing my son Luke and I building a workbench for my Cincinnati garage.

This garage would be perfect for a future restoration as it's two car lengths front to back. Build a car dolly, lift the body off the pan, roll the car dolly under the body, roll the body forward, allowing easy access to both body and pan, with enough room for tools and storage. Sweet, but not this project. For the interested, here's a link on The Samba to construction of a car dolly just right for a Ghia:

http://www.thesamba.com/vw/forum/viewtopic.php?t=144717

Finished Metal Work - Part 3


Just a few more so you can see how well things were left. At this time in 2003, I made the decision to pull the car out of storage and take to my home garage in Cincinnati for final strip down before taking it to the paint/body shop. You can see from pics of the rear of the car, from the side, that the ride height in the rear does need to be checked and adjusted as necessary.

Finished Metal Work - Part 2


More pics....

If you look closely at the leading edge of the floor pans in the upper right pic, in the vicinity of where the driver's feet would be, you can see that the Schirmer's actually welded the body to the pan using a reinforcing plate. This is not how the Ghia was constructed - the body is bolted to the pan around a raised ridge that runs the entire periphery of the pan. I'm not clear why this was done...and it's done on both the driver's and passengers sides...just another hazard of not being around to monitor and guide the work. I really did not want this to be done, and the Schirmer's do know better as they have worked on myriad's of VW's in the Cincinnati Rust Belt. Alas, it is what it is.

In theory, it would be relatively easy to cut thru these plates to free the pan from the body, however, given where this restoration is going, I don't ever see that as being necessary. It's nice to know that it could be done if required. At one point, I was considering removing the body from the pan one final time after the welding was complete to have the body media blasted and the pan powder-coated, and although this is really the first class way to do a Ghia restoration, I don't think this car really warrants that at this point...and my pocket book won't tolerate it at this point, either. Maybe next project. Hey, I said it was a learning experience, didn't I?

Finished Metal Work - Part 1


Ok, here we have a selection of pics showing the completed body metal work done at Schirmer's Welding. Work was completed by August, 1999. At the time of these pics, I had the car in storage and these were taken in June of 2003.

You need to understand that in order to accomplish all of the metal work associated with what you see, it was necessary for the Schirmer's to take the car body (removed from the pan), cut it in half door-to-door through the rocker panels, flip each side (front & rear) upside down to access the underside hard-to-reach parts of the car, make patch panels as necessary (you can't buy aftermarket panels to make all of the necessary repairs), then turn the halves upright. Next they bolted the mended halves back down onto the completed pan, and stitched the halves together by rebuilding the rocker channels, including the convertible-only additional channel stiffener metal. I think this process was chosen as the Schirmer's do (or did) not have a auto rotisserie, which would have made the whole process much easier in terms of handling. It also may have been impossible to do all of the welding using a rotisserie. This is because, with the top frame and the doors removed, the only thing holding the front and back havles of a Ghia Vert together are the rockers, and they were marginally intact (although surprisingly so).

Had I to do this work on my own, or to start again knowing what I know now (20-20 hingsight), we probably should have used one.

For those of you interested you can Google 'auto rotisserie' and you can quickly see plans and pics for building your own from scratch using tube steel, etc. - which I will do on my next project (in this life or the next).